> ## Documentation Index
> Fetch the complete documentation index at: https://aipro.placetel.de/docs/llms.txt
> Use this file to discover all available pages before exploring further.
# Create and set up AI assistants
> Choose Voice or Chat, set up the assistant, and test it before use.
Under **AI Assistants**, you create and manage the assistants for your conversations. When creating one, choose whether the new assistant should handle calls or written messages.
## Which assistant fits your channel?
| Type | Suitable for | Next step |
| :------------------ | :---------------------------------- | :--------------------------------------------------------------------------------------------------------------------------- |
| **Voice assistant** | Phone calls and voice conversations | Configure it in the wizard and use it for telephony. See [Telephony for voice assistants](/docs/en/ai-numbers) for more guidance. |
| **Chat assistant** | Written messages | Configure it in the wizard and test it directly. |
Phone calls require a voice assistant. If you want to offer the same use case for calls and messages, create one assistant of each type.
One chat assistant can be used for both WhatsApp and LiveChat.
## Create a new assistant
Open **AI Assistants** in the sidebar and go to **Overview**.
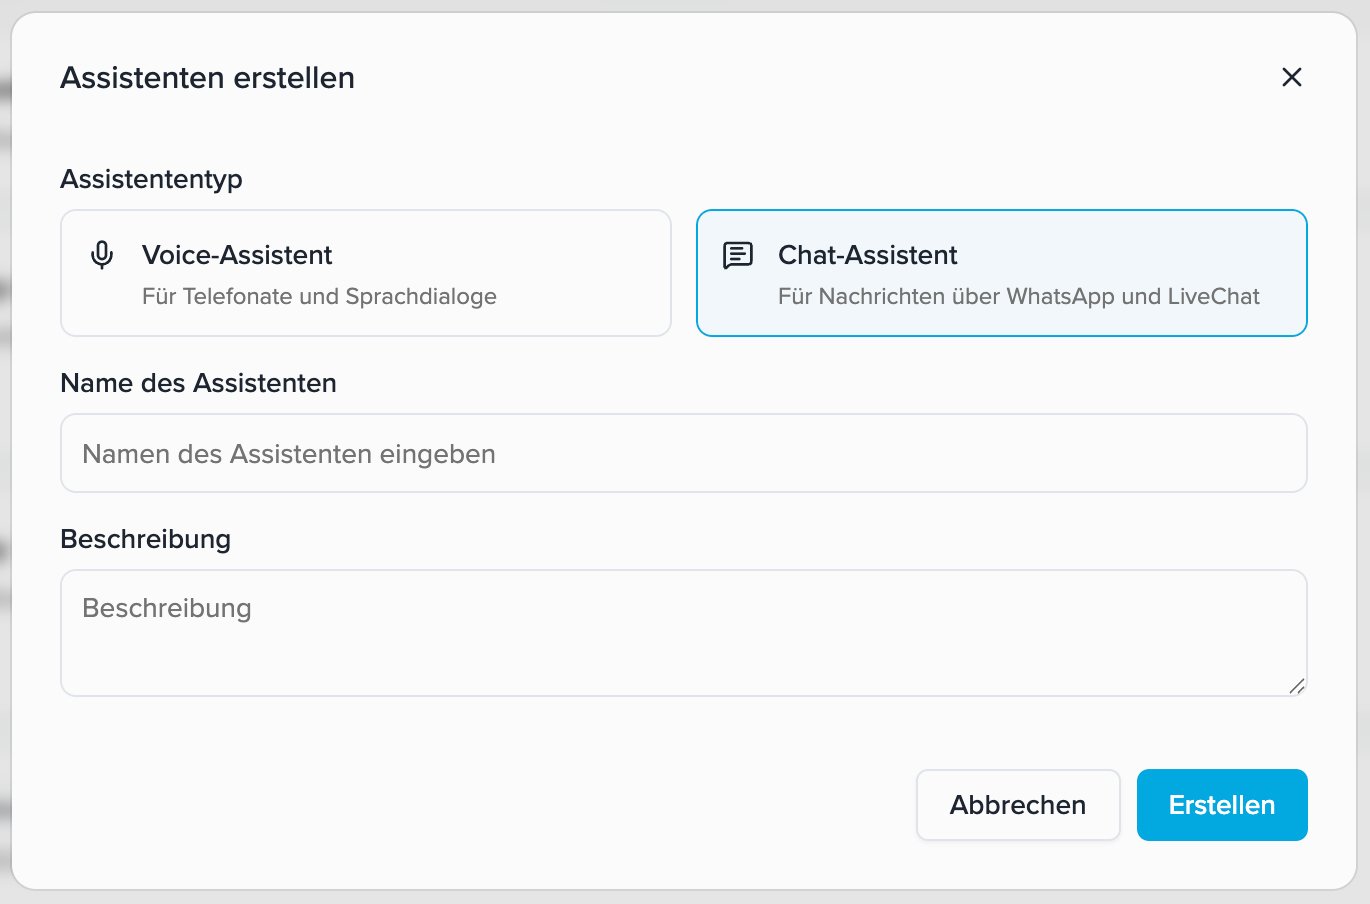
Click **Create** and choose **Voice assistant** or **Chat assistant**. **Instant assistant** opens the template gallery instead; it is not a third conversation channel.
Confirm the selected type in the **Create assistant** dialog, enter a name and optionally an internal description, then create the assistant.
The new assistant opens in the corresponding wizard. Set its first message and instructions, and test it before use. The settings you see depend on the chosen type.
 ## Duplicate an existing assistant
Want to create a similar assistant for another channel? Under **AI Assistants → Overview**, open the existing assistant's **⋮** menu and choose **Duplicate**. In the dialog, choose the **new assistant type** – Voice or Chat – and give the copy a name.
Choose the same type for a regular copy, or the other type to create, for example, a new chat assistant based on a voice assistant. **The original assistant and its type remain unchanged.** The existing instructions provide a starting point; review the copy in the wizard and assign it to the appropriate telephony or chat channel. Existing channel assignments do not move to the copy automatically.
## Set up a voice assistant
For a voice assistant, configure its voice, instructions, and call settings in the wizard. Test it before use. [Telephony for voice assistants](/docs/en/ai-numbers) explains how to make it available by phone.
## Set up a chat assistant
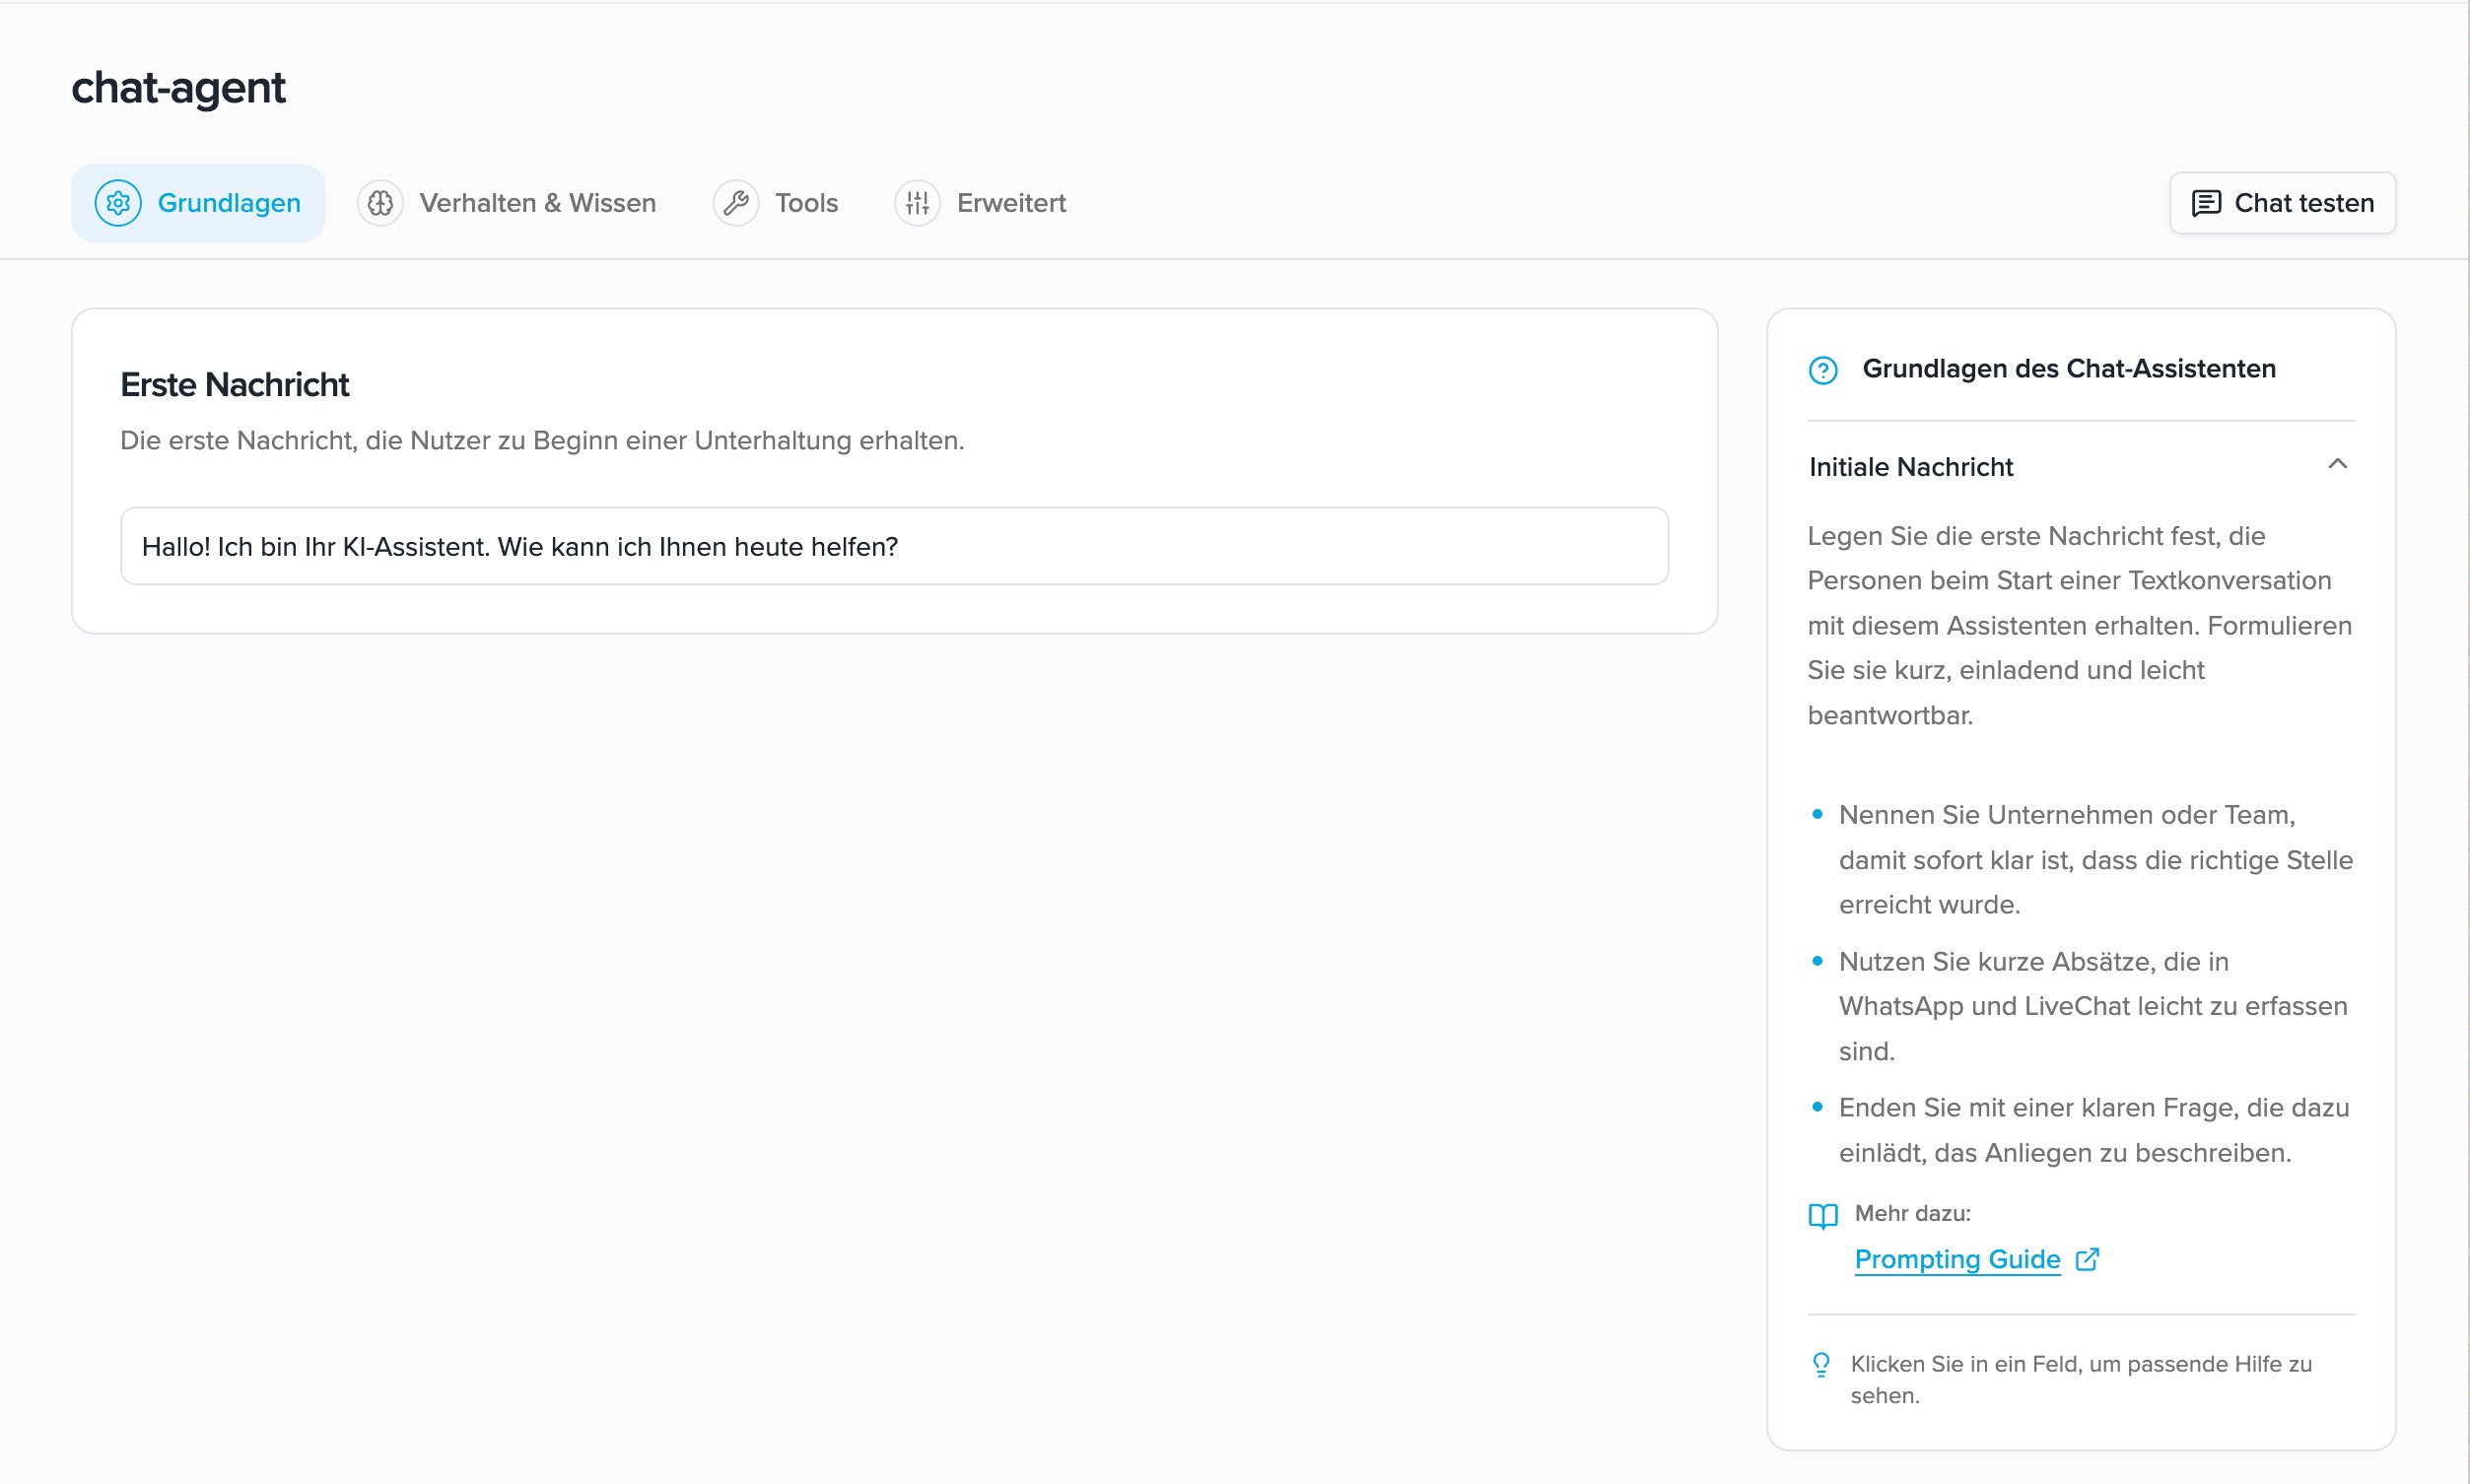
A chat assistant answers written messages. You can test its replies directly in the wizard first. The chat wizard shows **Basics**, **Behavior & Knowledge**, **Tools**, and **Advanced**. Settings that only apply to calls are not shown.
Under **Basics**, set the **First message** people receive at the start of a chat. Keep it short and, if possible, ask a question that is easy to answer. This message is configured on the assistant.
Under **Behavior & Knowledge**, explain how the assistant should reply in writing and select a knowledge base if needed.
Under **Tools**, configure the capabilities the assistant should use in chat. Then test a flow that includes a tool call.
Under **Advanced**, find **Response style** and **Chat history retention**. The retention setting determines whether and for how long chat contents are stored; it applies to conversations newly started with this assistant.
## Duplicate an existing assistant
Want to create a similar assistant for another channel? Under **AI Assistants → Overview**, open the existing assistant's **⋮** menu and choose **Duplicate**. In the dialog, choose the **new assistant type** – Voice or Chat – and give the copy a name.
Choose the same type for a regular copy, or the other type to create, for example, a new chat assistant based on a voice assistant. **The original assistant and its type remain unchanged.** The existing instructions provide a starting point; review the copy in the wizard and assign it to the appropriate telephony or chat channel. Existing channel assignments do not move to the copy automatically.
## Set up a voice assistant
For a voice assistant, configure its voice, instructions, and call settings in the wizard. Test it before use. [Telephony for voice assistants](/docs/en/ai-numbers) explains how to make it available by phone.
## Set up a chat assistant
A chat assistant answers written messages. You can test its replies directly in the wizard first. The chat wizard shows **Basics**, **Behavior & Knowledge**, **Tools**, and **Advanced**. Settings that only apply to calls are not shown.
Under **Basics**, set the **First message** people receive at the start of a chat. Keep it short and, if possible, ask a question that is easy to answer. This message is configured on the assistant.
Under **Behavior & Knowledge**, explain how the assistant should reply in writing and select a knowledge base if needed.
Under **Tools**, configure the capabilities the assistant should use in chat. Then test a flow that includes a tool call.
Under **Advanced**, find **Response style** and **Chat history retention**. The retention setting determines whether and for how long chat contents are stored; it applies to conversations newly started with this assistant.
 ### Test directly in the wizard
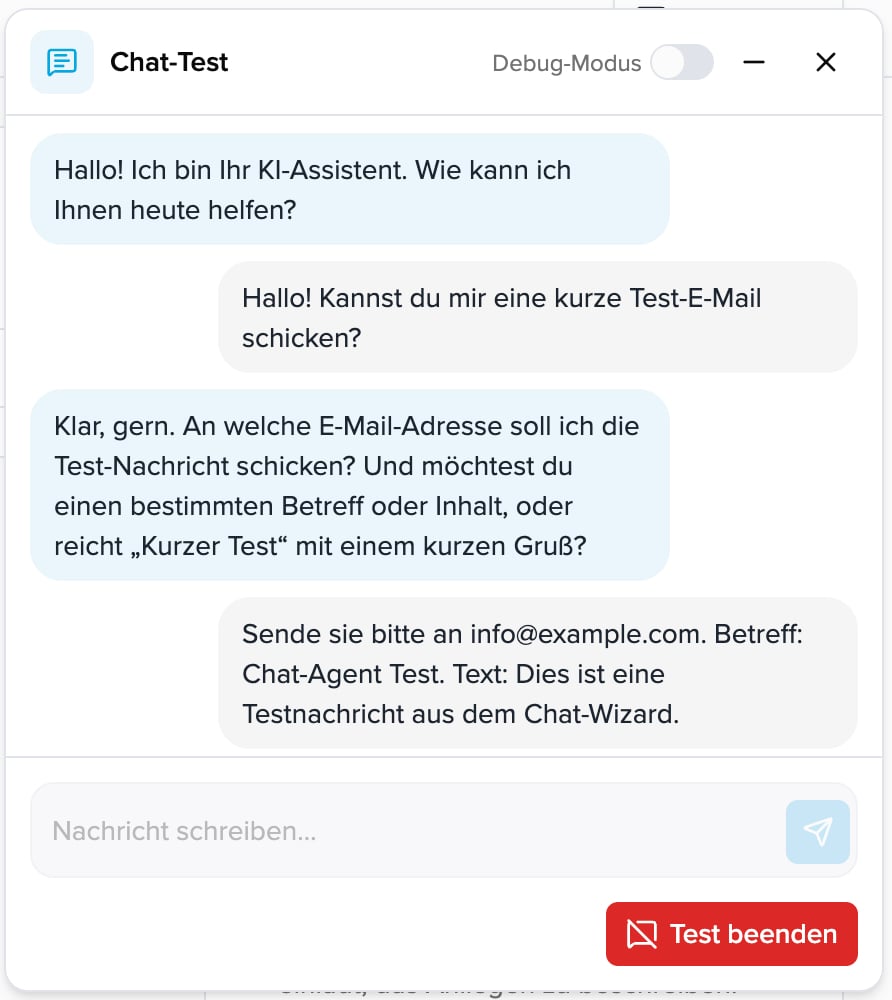
Save your changes and click **Test chat**. Send a message in the test window and check the reply. You do not need to connect a channel for this. The test uses the assistant's latest saved version.
Use **Debug mode** to show or hide tool calls in the test window. **End test** ends the current test; you can then start a new one. Test conversations appear under **Conversations**. Which contents are stored there depends on the assistant's retention setting.
### Test directly in the wizard
Save your changes and click **Test chat**. Send a message in the test window and check the reply. You do not need to connect a channel for this. The test uses the assistant's latest saved version.
Use **Debug mode** to show or hide tool calls in the test window. **End test** ends the current test; you can then start a new one. Test conversations appear under **Conversations**. Which contents are stored there depends on the assistant's retention setting.
 ### Connect a channel
When the test looks good, assign the chat assistant to a connected number under [WhatsApp](/docs/en/whatsapp) or to a widget under [LiveChat](/docs/en/livechat). Both selectors show chat assistants only. A voice assistant is not offered there.
The assistant overview includes both types.
### Connect a channel
When the test looks good, assign the chat assistant to a connected number under [WhatsApp](/docs/en/whatsapp) or to a widget under [LiveChat](/docs/en/livechat). Both selectors show chat assistants only. A voice assistant is not offered there.
The assistant overview includes both types.