

Overview
The Inbound Webhook sends an HTTP request before the voice agent accepts an incoming call. Values from the JSON response become variables that can personalize the initial greeting. Typical examples include the customer’s name, their plan, or information from your CRM. This allows the voice agent to greet the caller with relevant information immediately.The Inbound Webhook only runs for incoming calls. The HTTP request must finish before the voice agent accepts the call.
Open the Inbound Webhook
1
Open the voice agent
Open the voice agent you want and switch to the Advanced tab.
2
Configure the Inbound Webhook
Open the Inbound Webhook card and click Configure.
3
Enable the feature
Once you have saved a valid configuration, use the toggle on the card to enable or pause the Inbound Webhook.
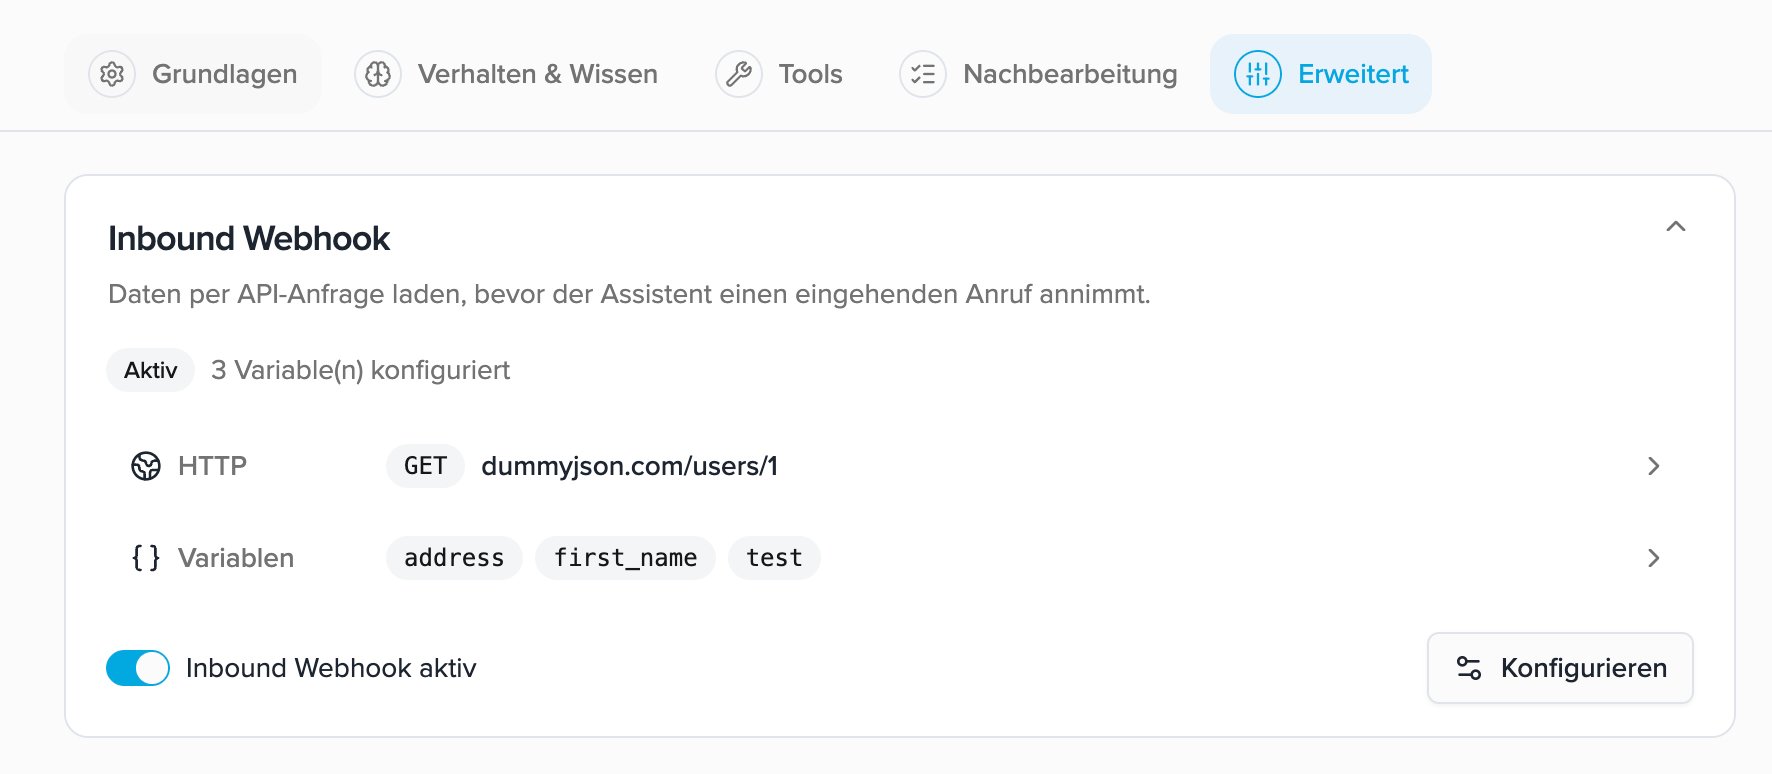
1. Configure the connection
In the first step, choose when and how the HTTP request is sent.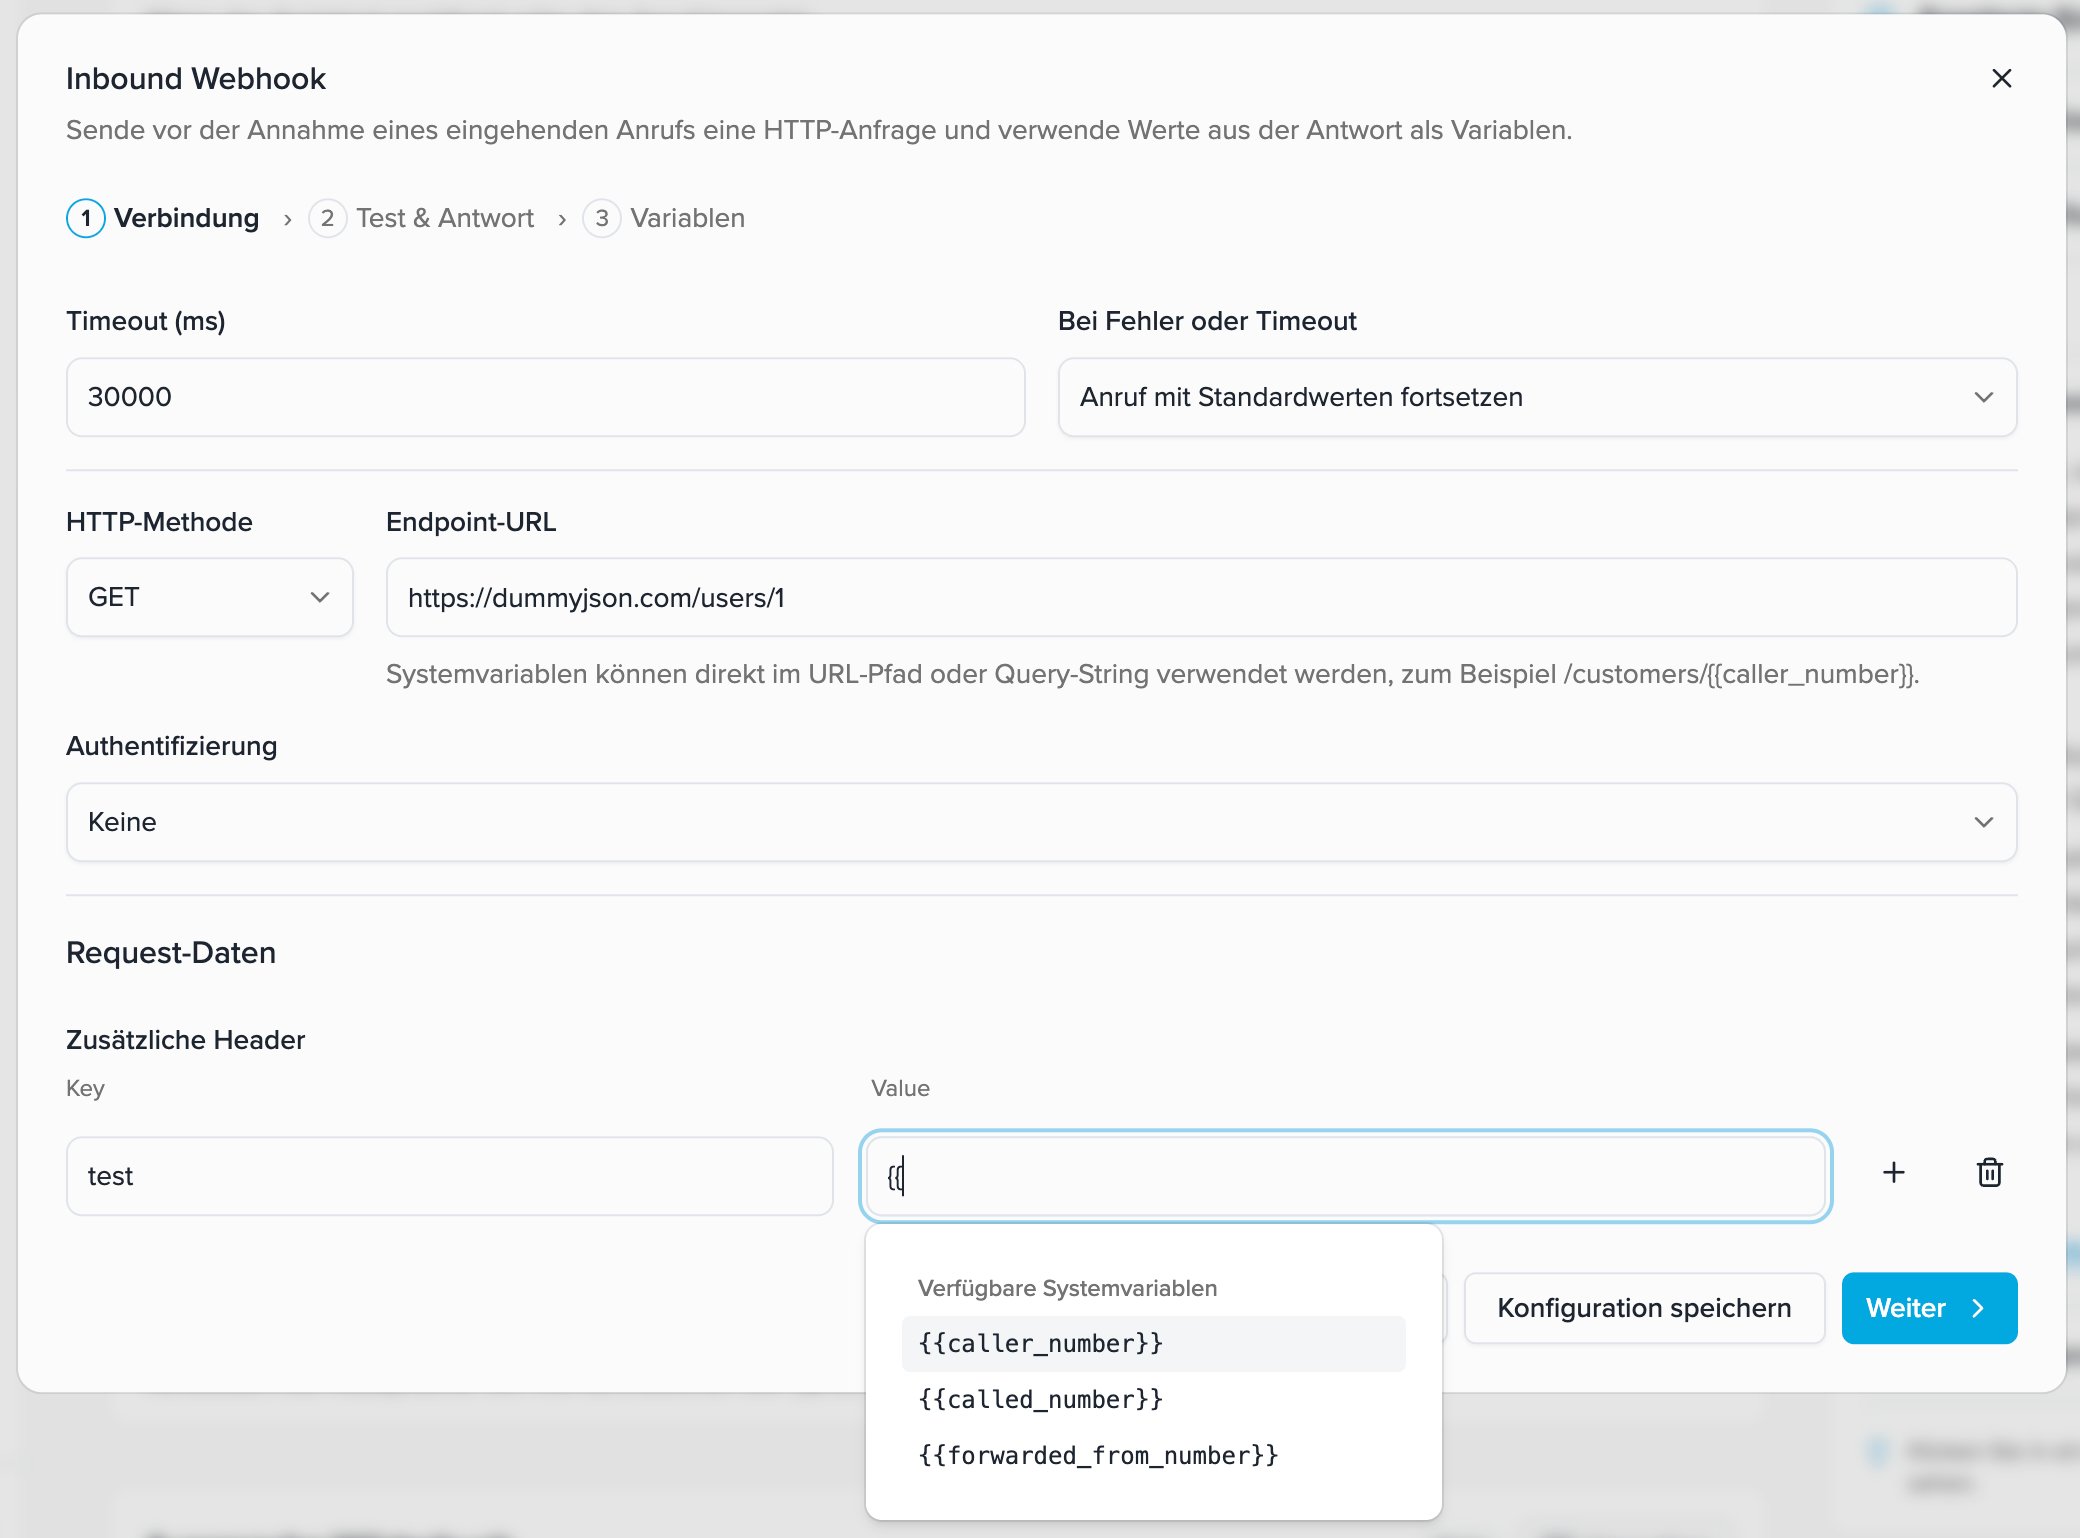
Timeout
The timeout determines the maximum time the system waits for the API. You can enter a value between 250 ms and 30,000 ms (30 seconds). The default is 5,000 ms. A longer timeout gives a slow API more time, but it also delays call acceptance. Use the lowest value at which your API responds reliably.Behavior on error or timeout
Under On error or timeout, two options are available:HTTP method and endpoint
The available HTTP methods areGET, POST, PUT, PATCH, and DELETE. The endpoint URL must start with https://.
- System variables can be used in the URL path or query string, for example
https://api.example.com/customers/{{caller_number}}. - With
POST,PUT,PATCH, andDELETE, you can also configure a JSON body. GETrequests are sent without a request body.
Authentication
The Inbound Webhook supports no authentication, Bearer token, API key header, Basic auth, OAuth 2.0, and JWT OAuth. For OAuth 2.0 and JWT OAuth, select an existing saved connection. Credentials are not shown in the technical test details.Send call data as system variables
The following system variables are available before the call:
You can use these variables in the endpoint URL, in additional headers, and - for methods with a request body - in the JSON body. Click a supported field and type
{{. Then select the required variable from the list.
Example additional header:
If call information is unavailable, an empty value is inserted. The placeholder itself is never sent to your API.
2. Test the connection and inspect the response
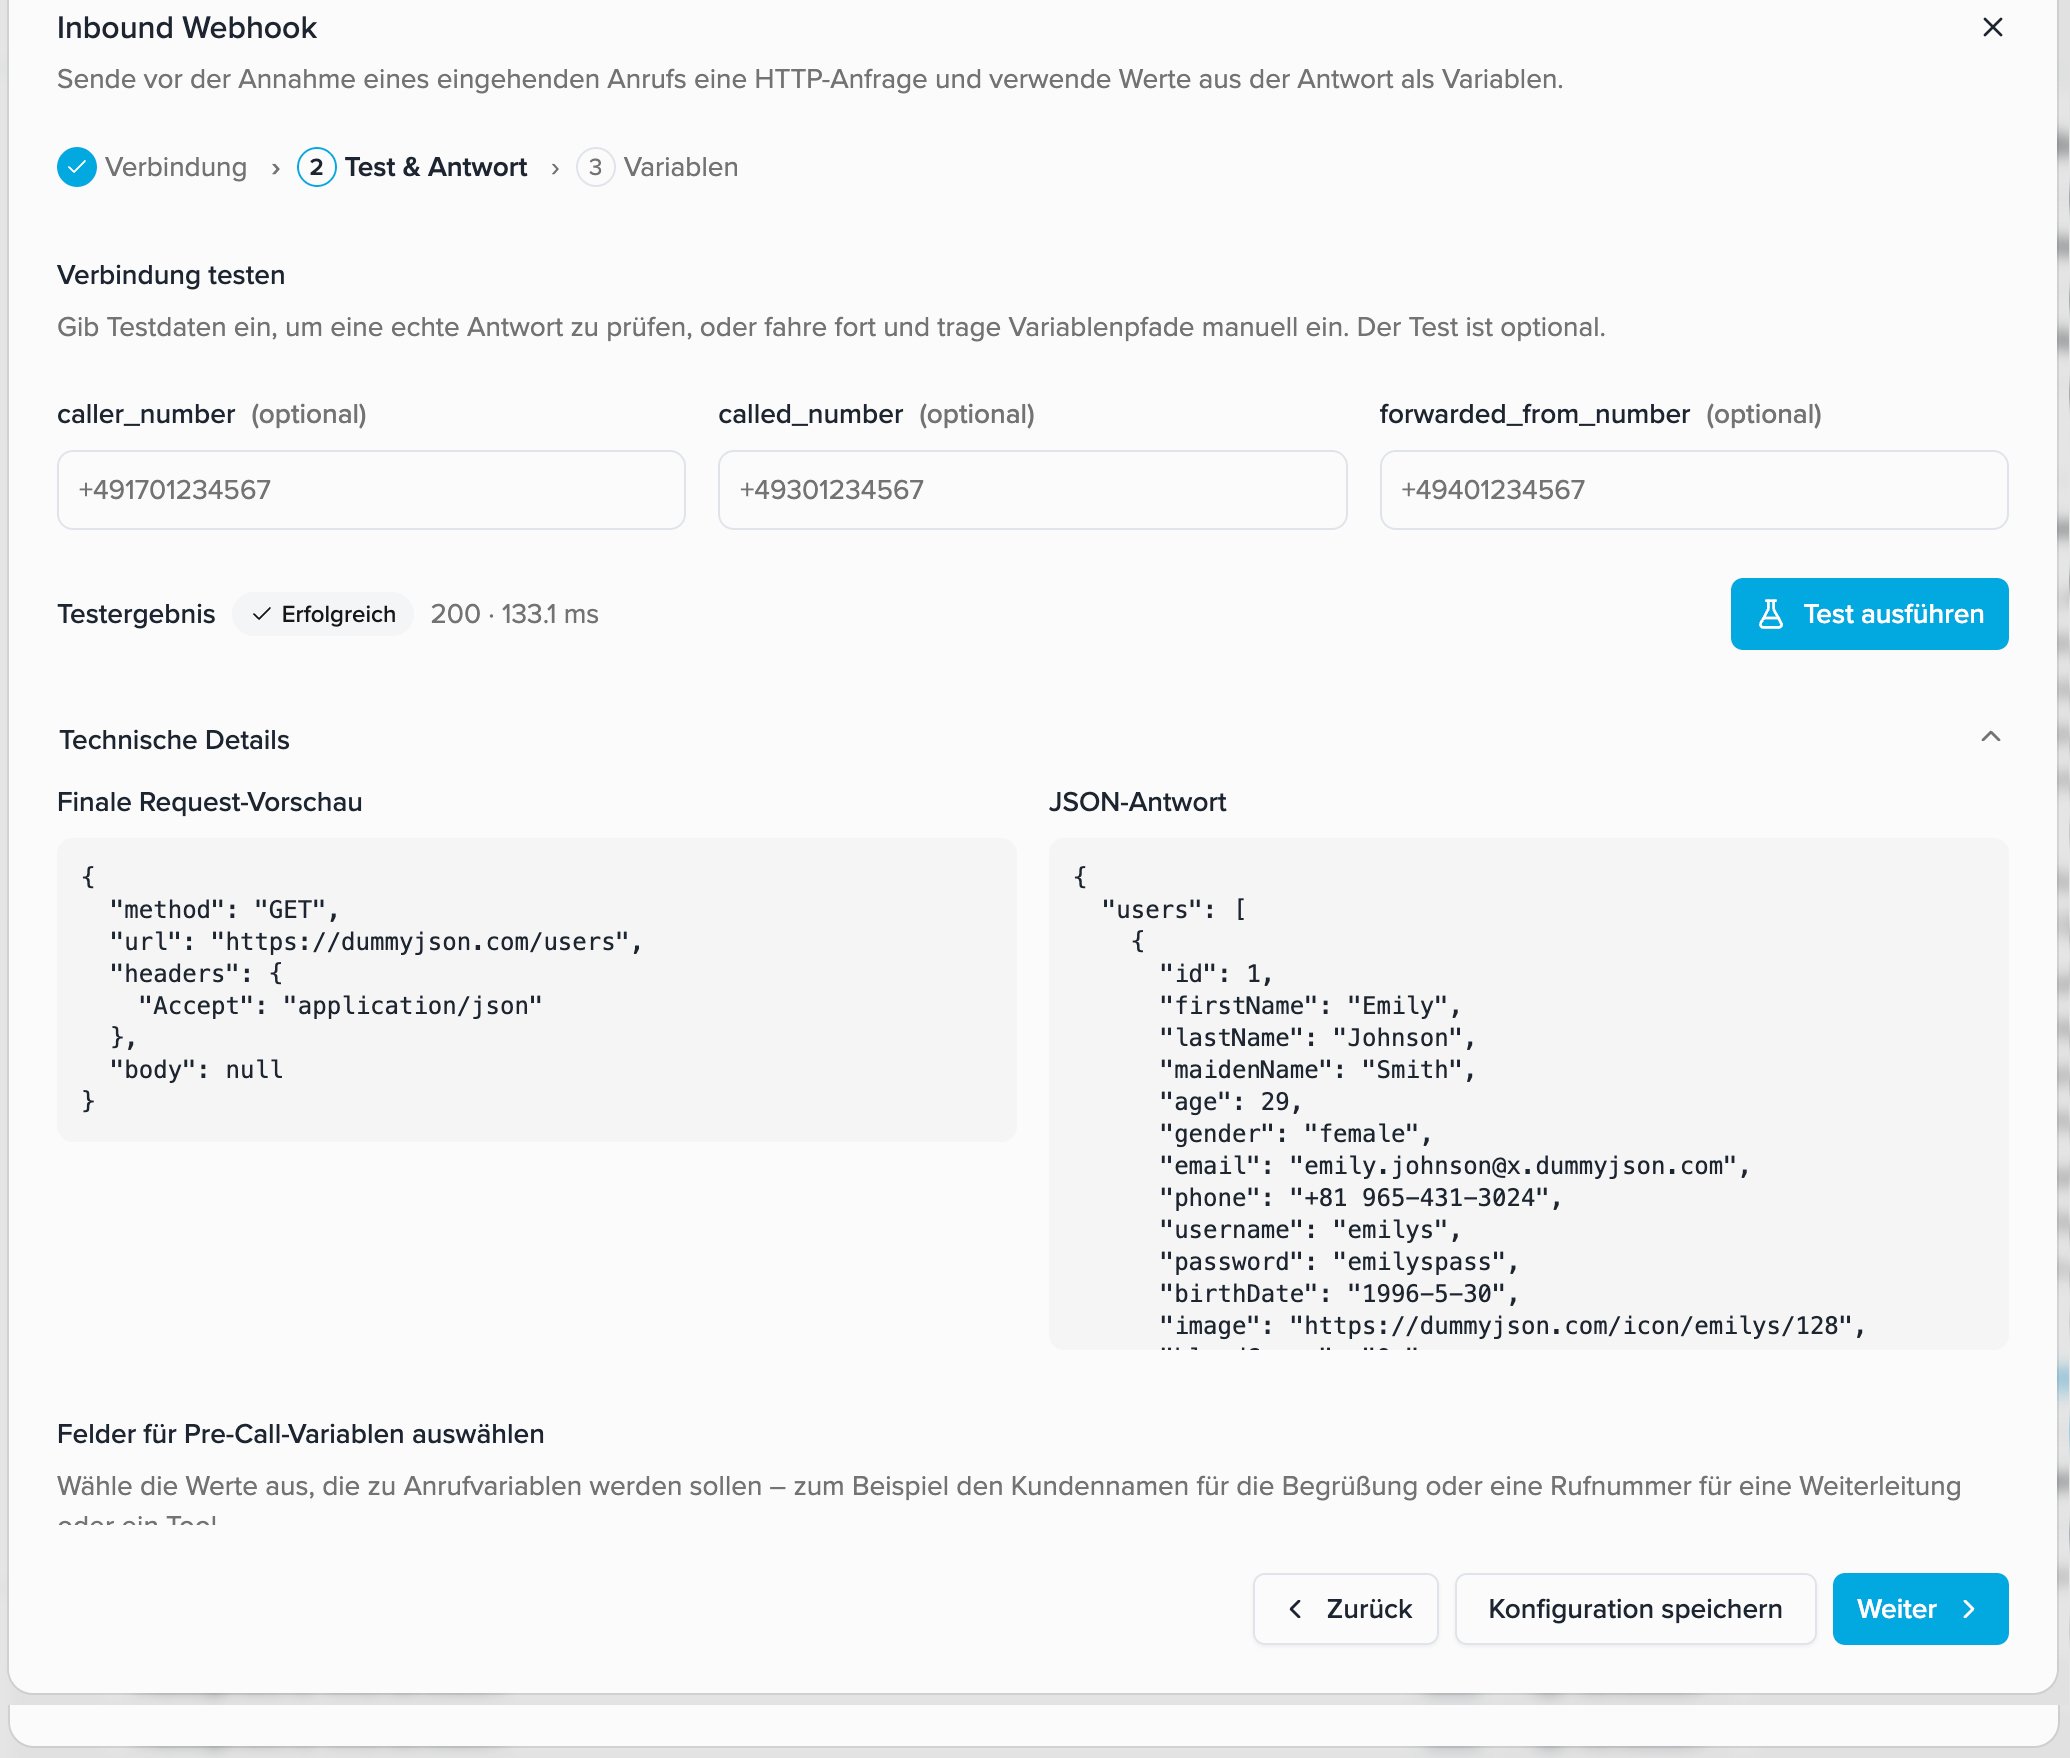
In the second step, you can call your real API with sample data of your choice. All three phone number fields are optional and affect this test only.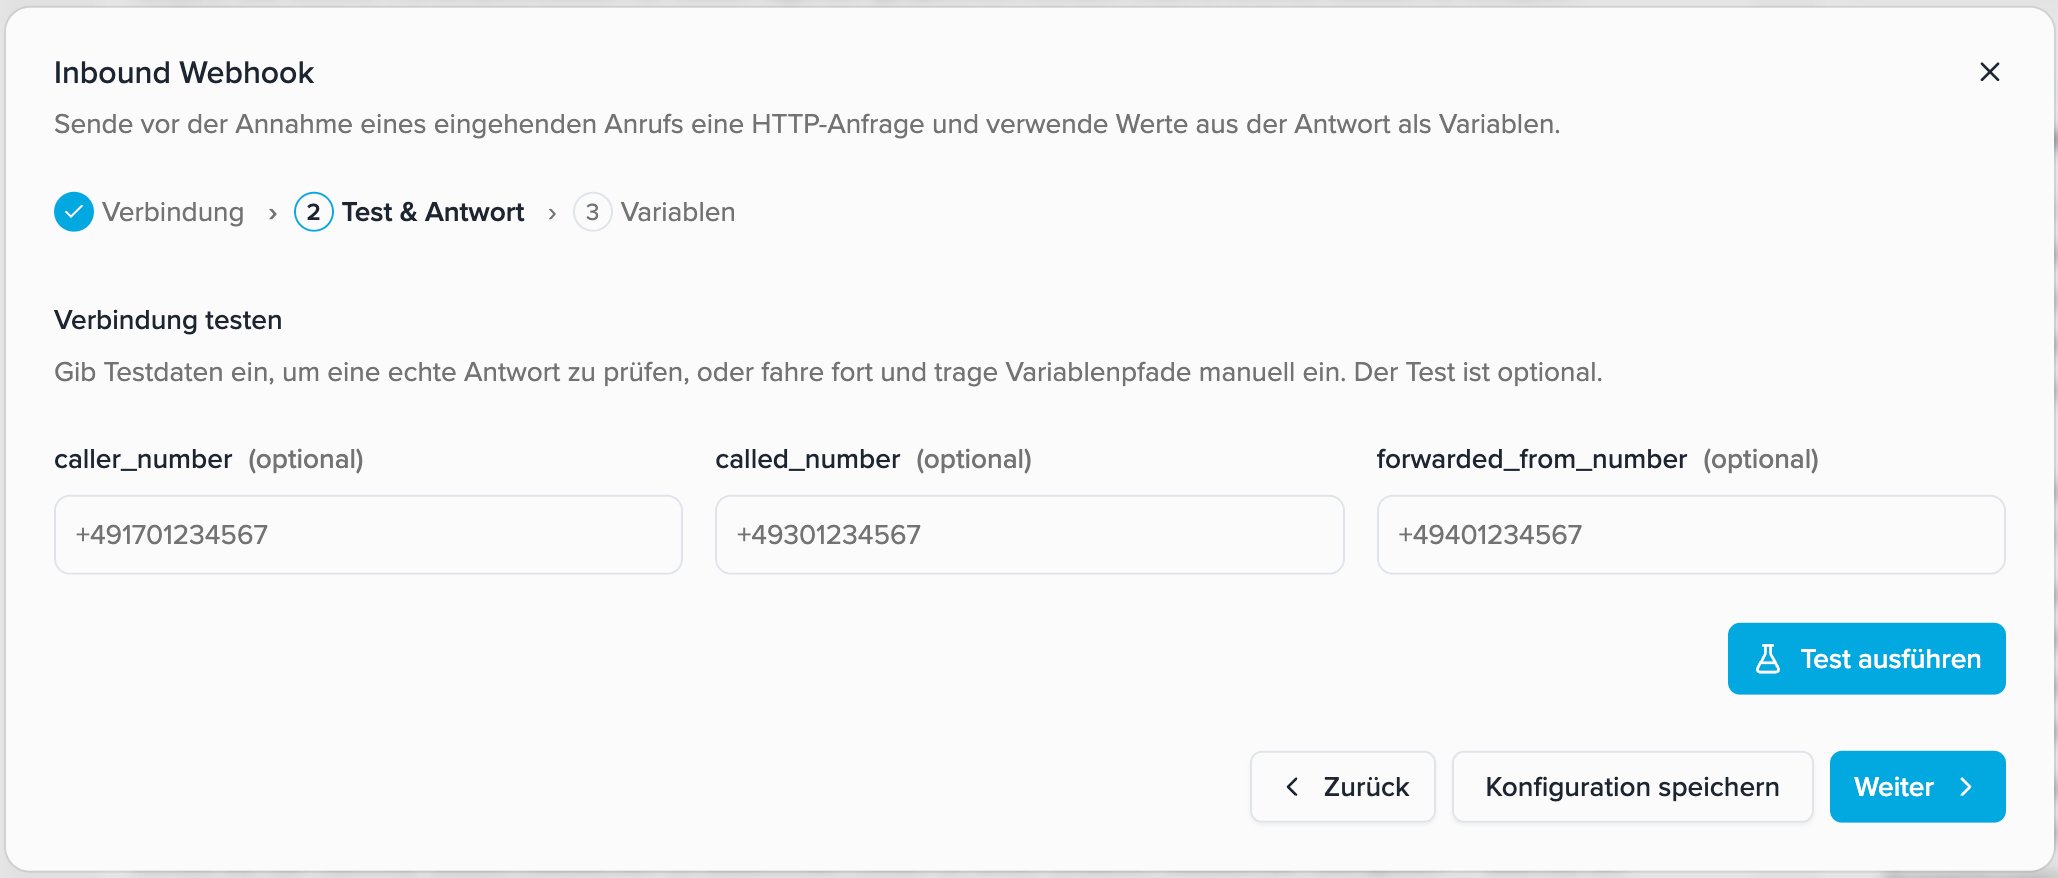
- caller_number simulates the caller’s phone number.
- called_number simulates the called destination number.
- forwarded_from_number simulates a forwarded call.
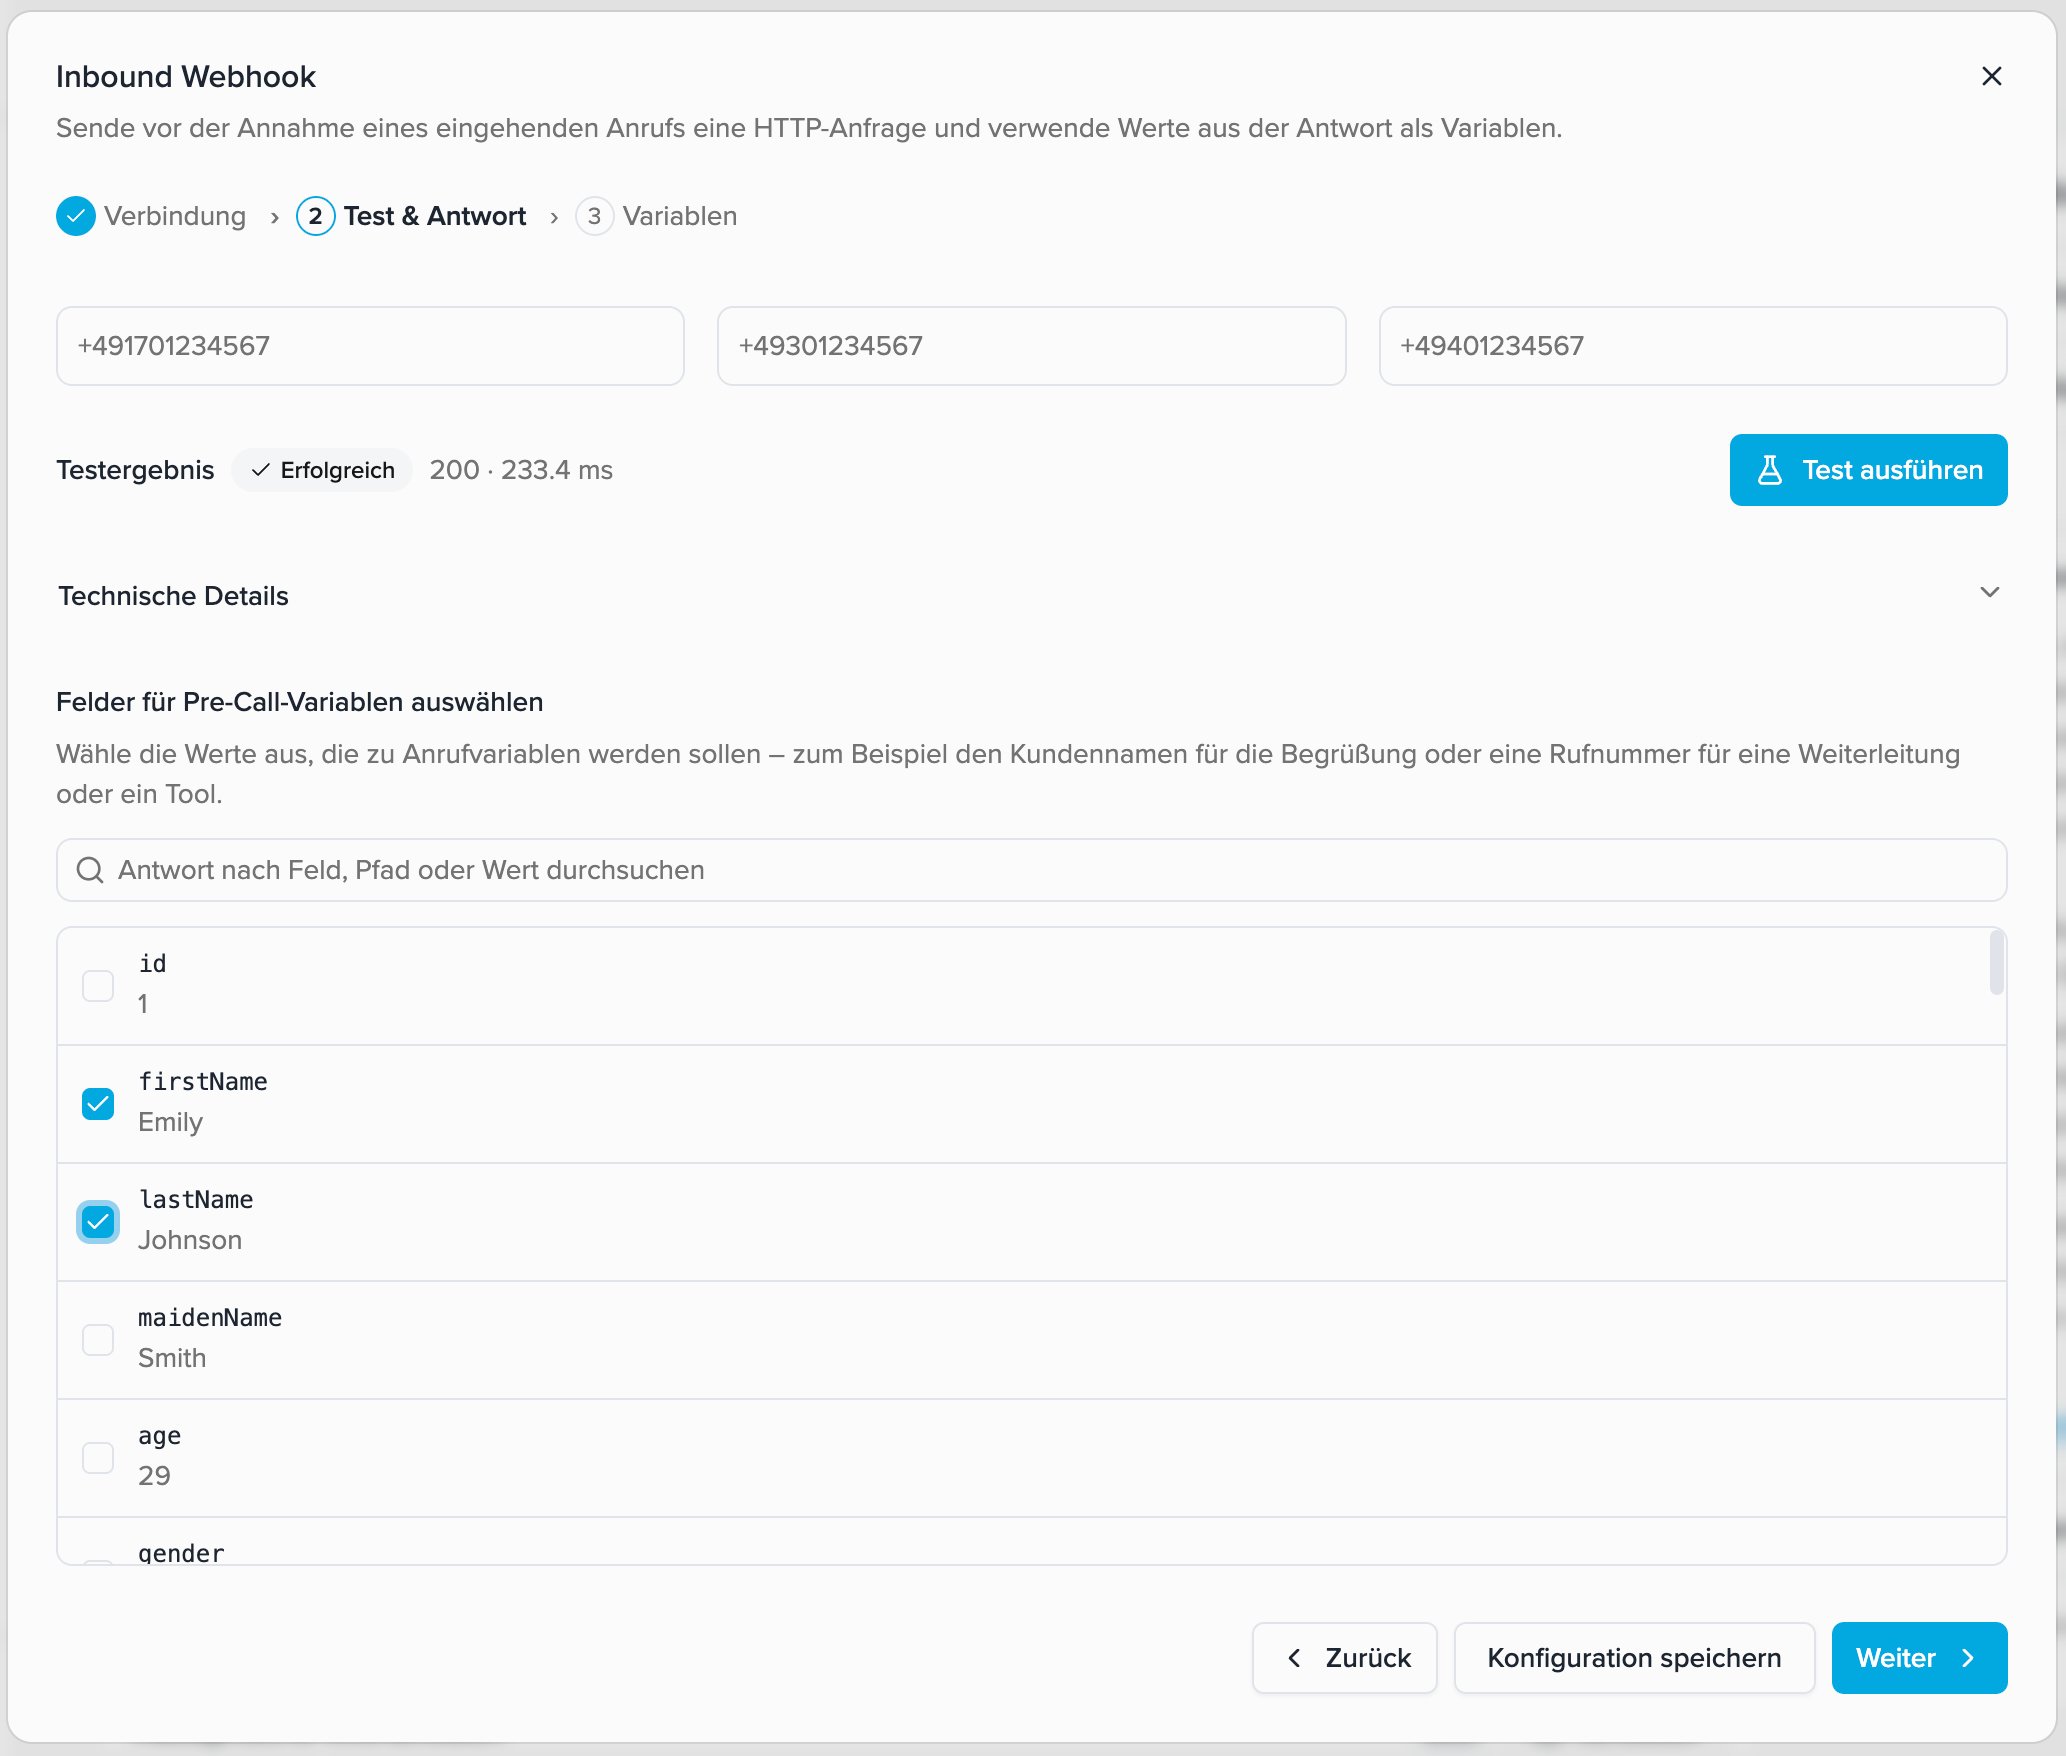
Technical details
Open Technical details to inspect two views side by side:- Final request preview shows the method, URL, headers, and body after system variables have been replaced. Sensitive authentication values are redacted.
- JSON response shows the response returned by your API during the test.
Search the response
For large responses, search by field name, response path, or value. Then select the required scalar field using its checkbox.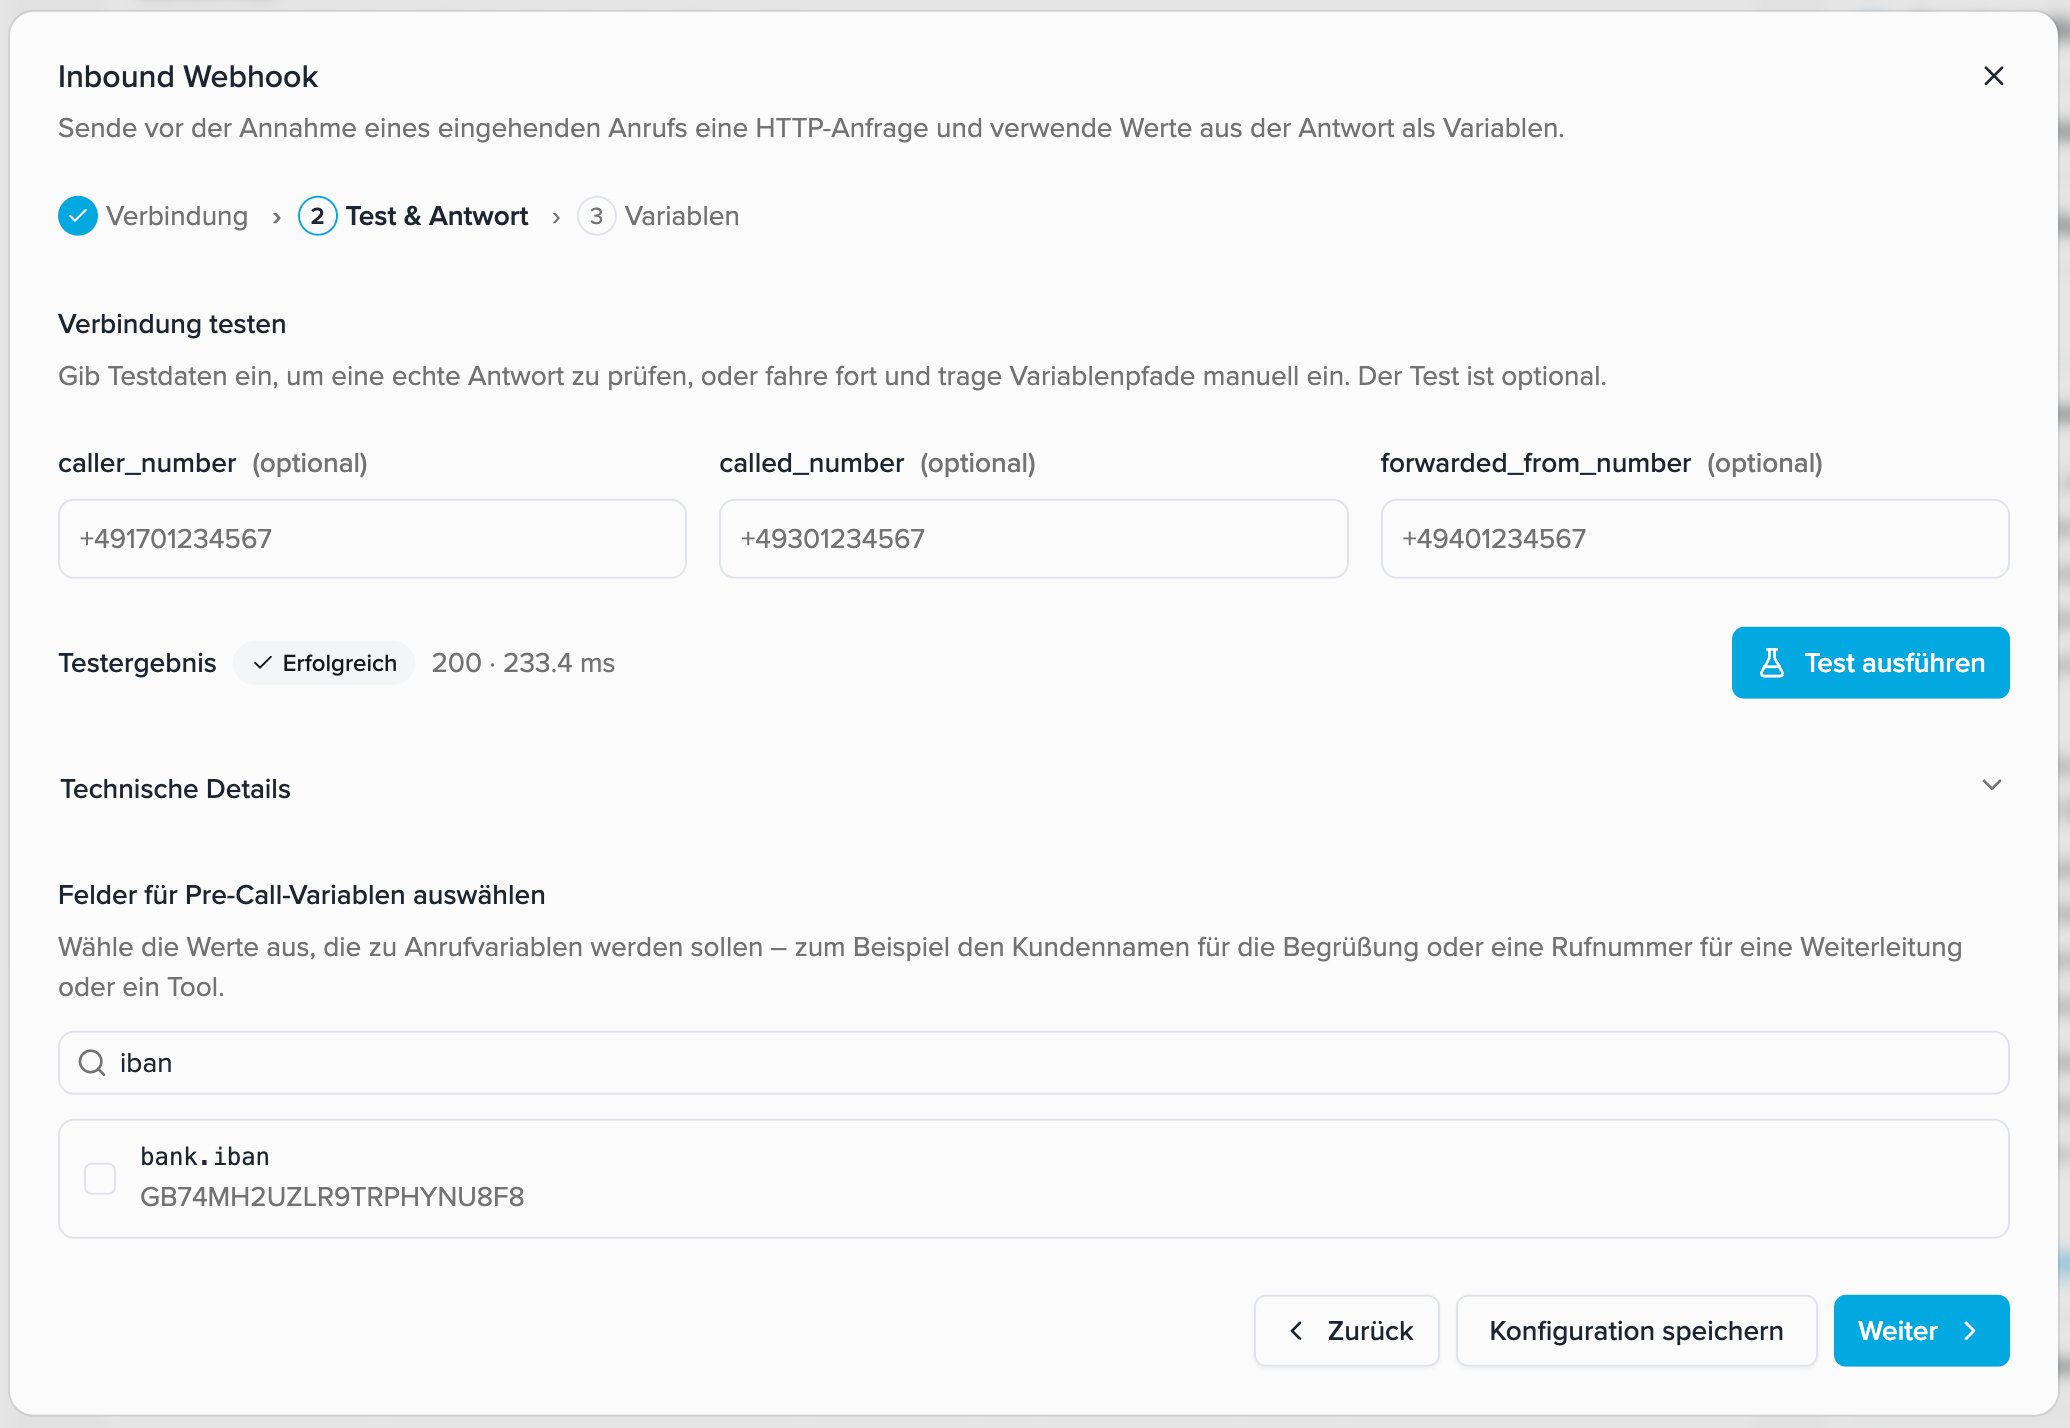
true or false. For objects and arrays, select the specific value inside the structure.
Dot notation for nested responses and arrays
Response paths use dot notation. Each dot moves one level deeper. For arrays, the index is also a path segment and starts at0.
Examples:
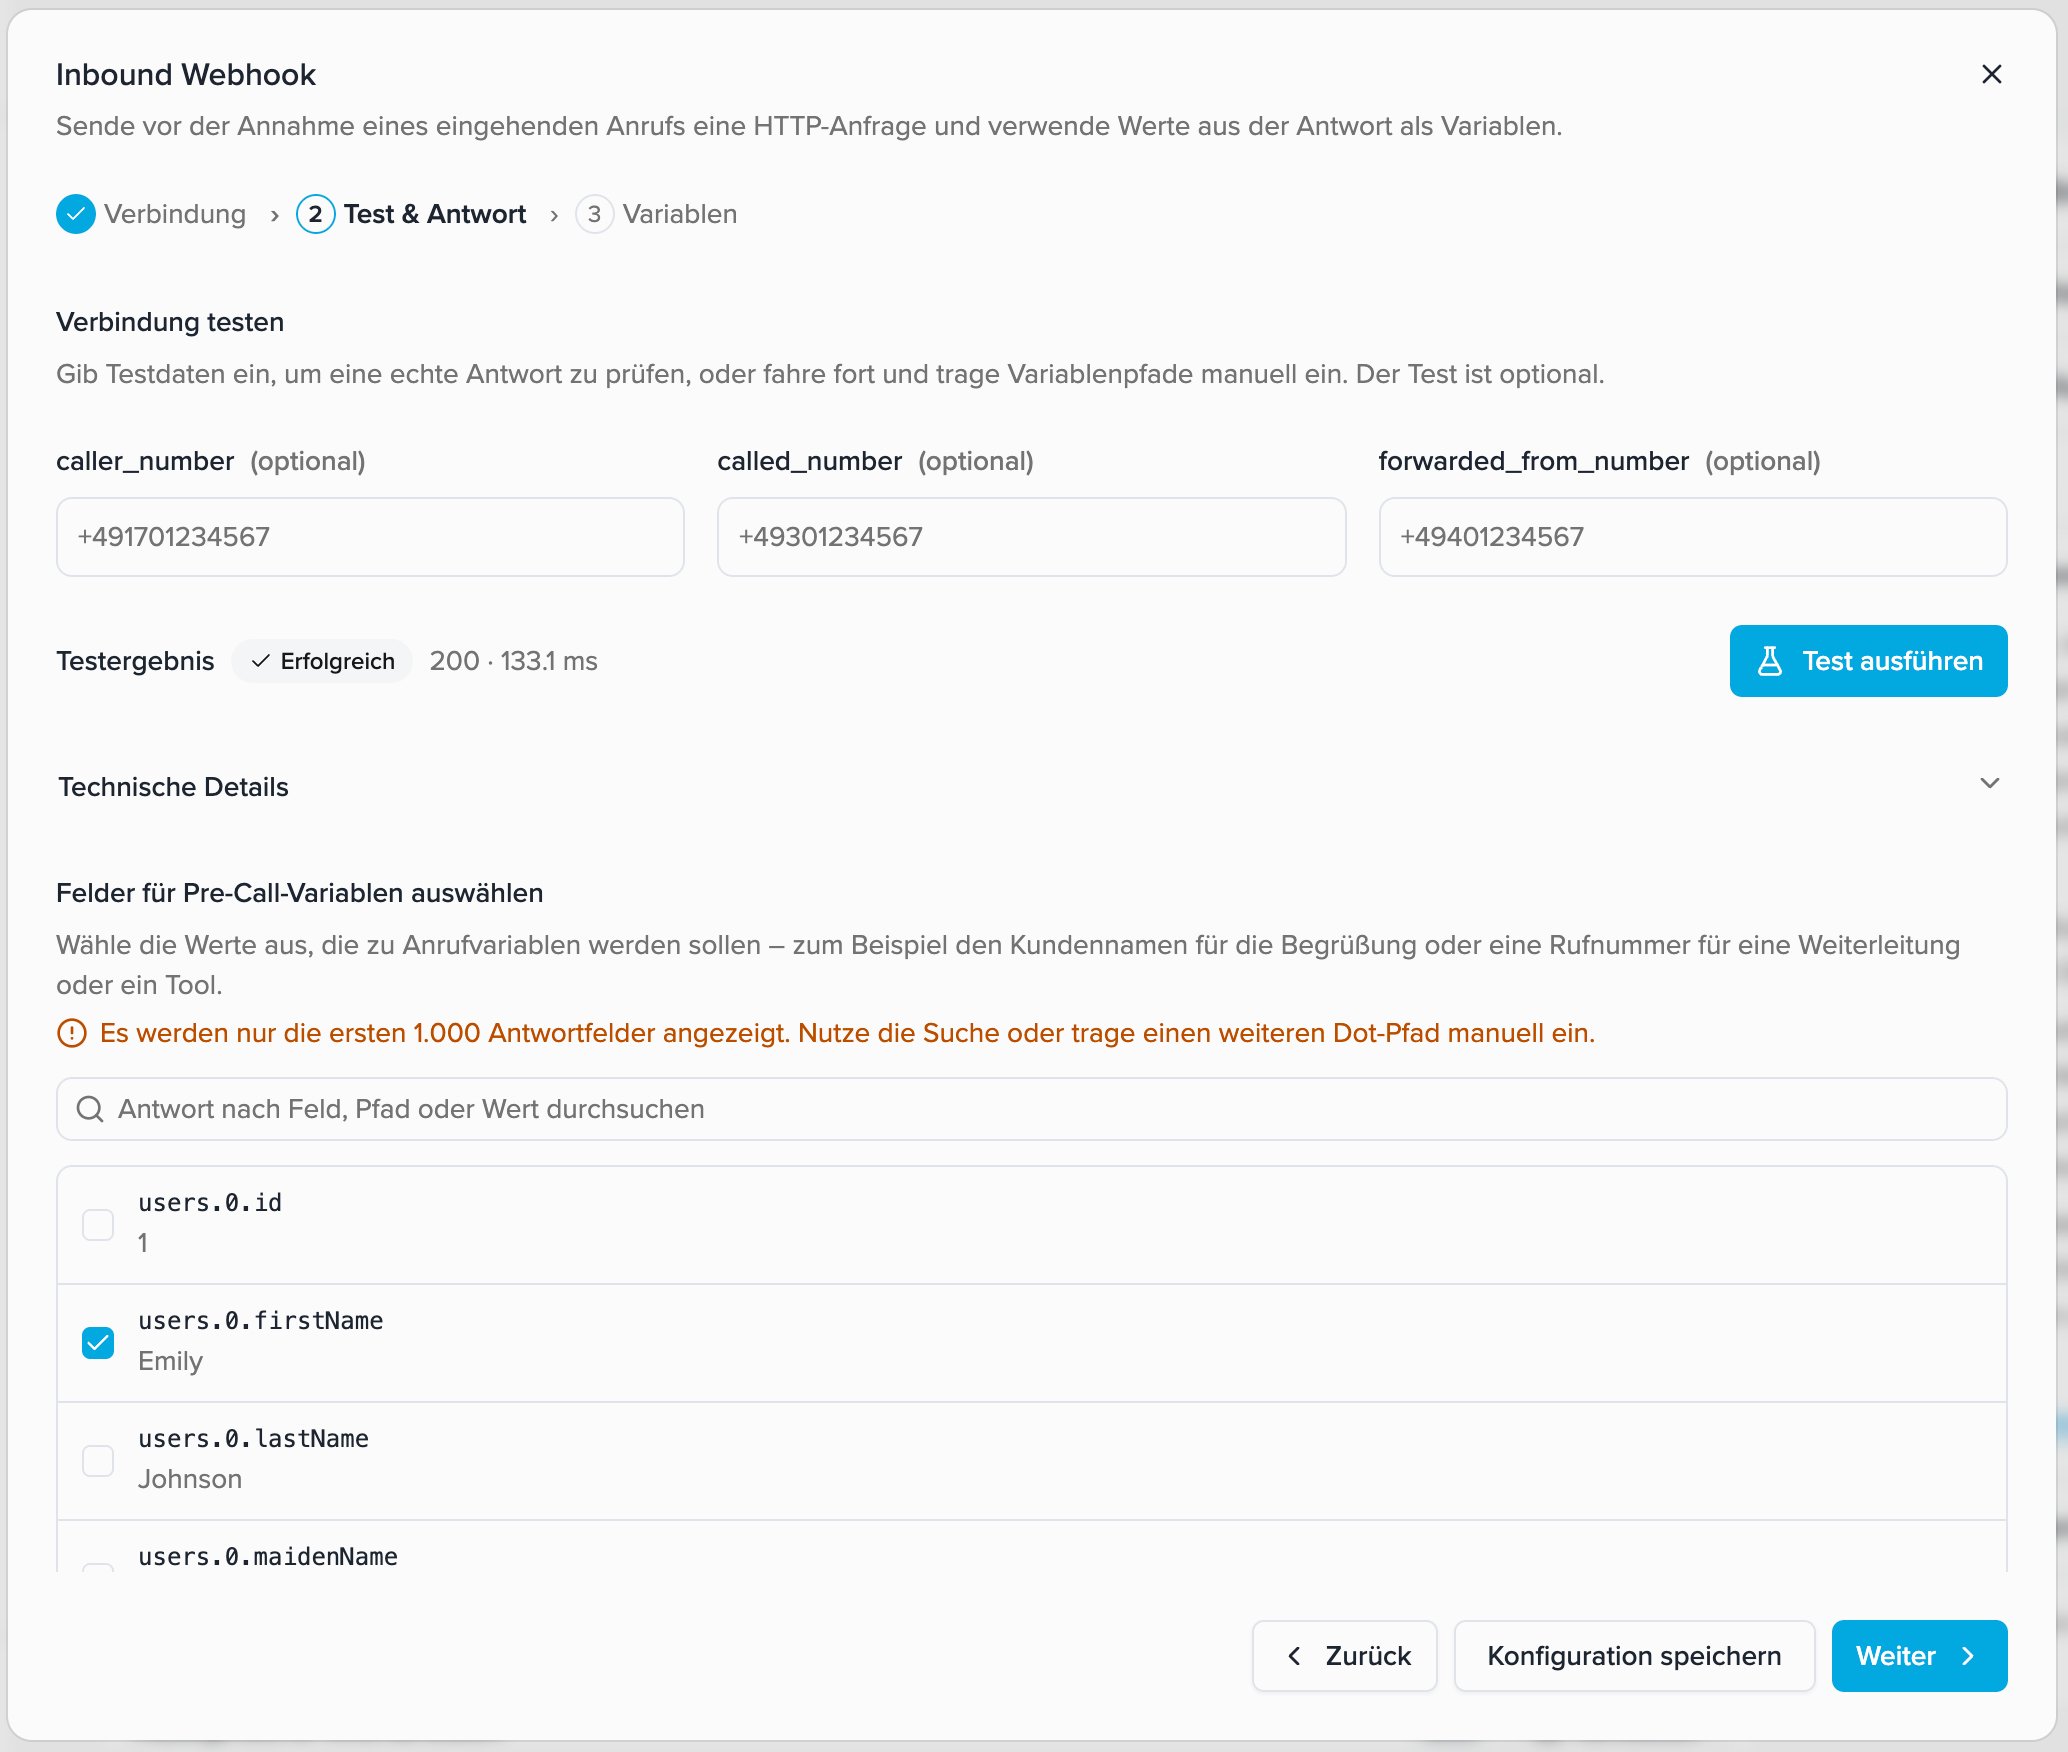
The selection list shows at most the first 1,000 scalar response fields. For larger responses, use search or manually enter a known dot path in the next step.
Configure without a successful test
Testing is optional. If your API cannot be tested from the configuration dialog, continue to the Variables step. Create the variable name there and manually enter the expected response path using dot notation.3. Define variables and default values
In the final step, review and edit the variable mappings.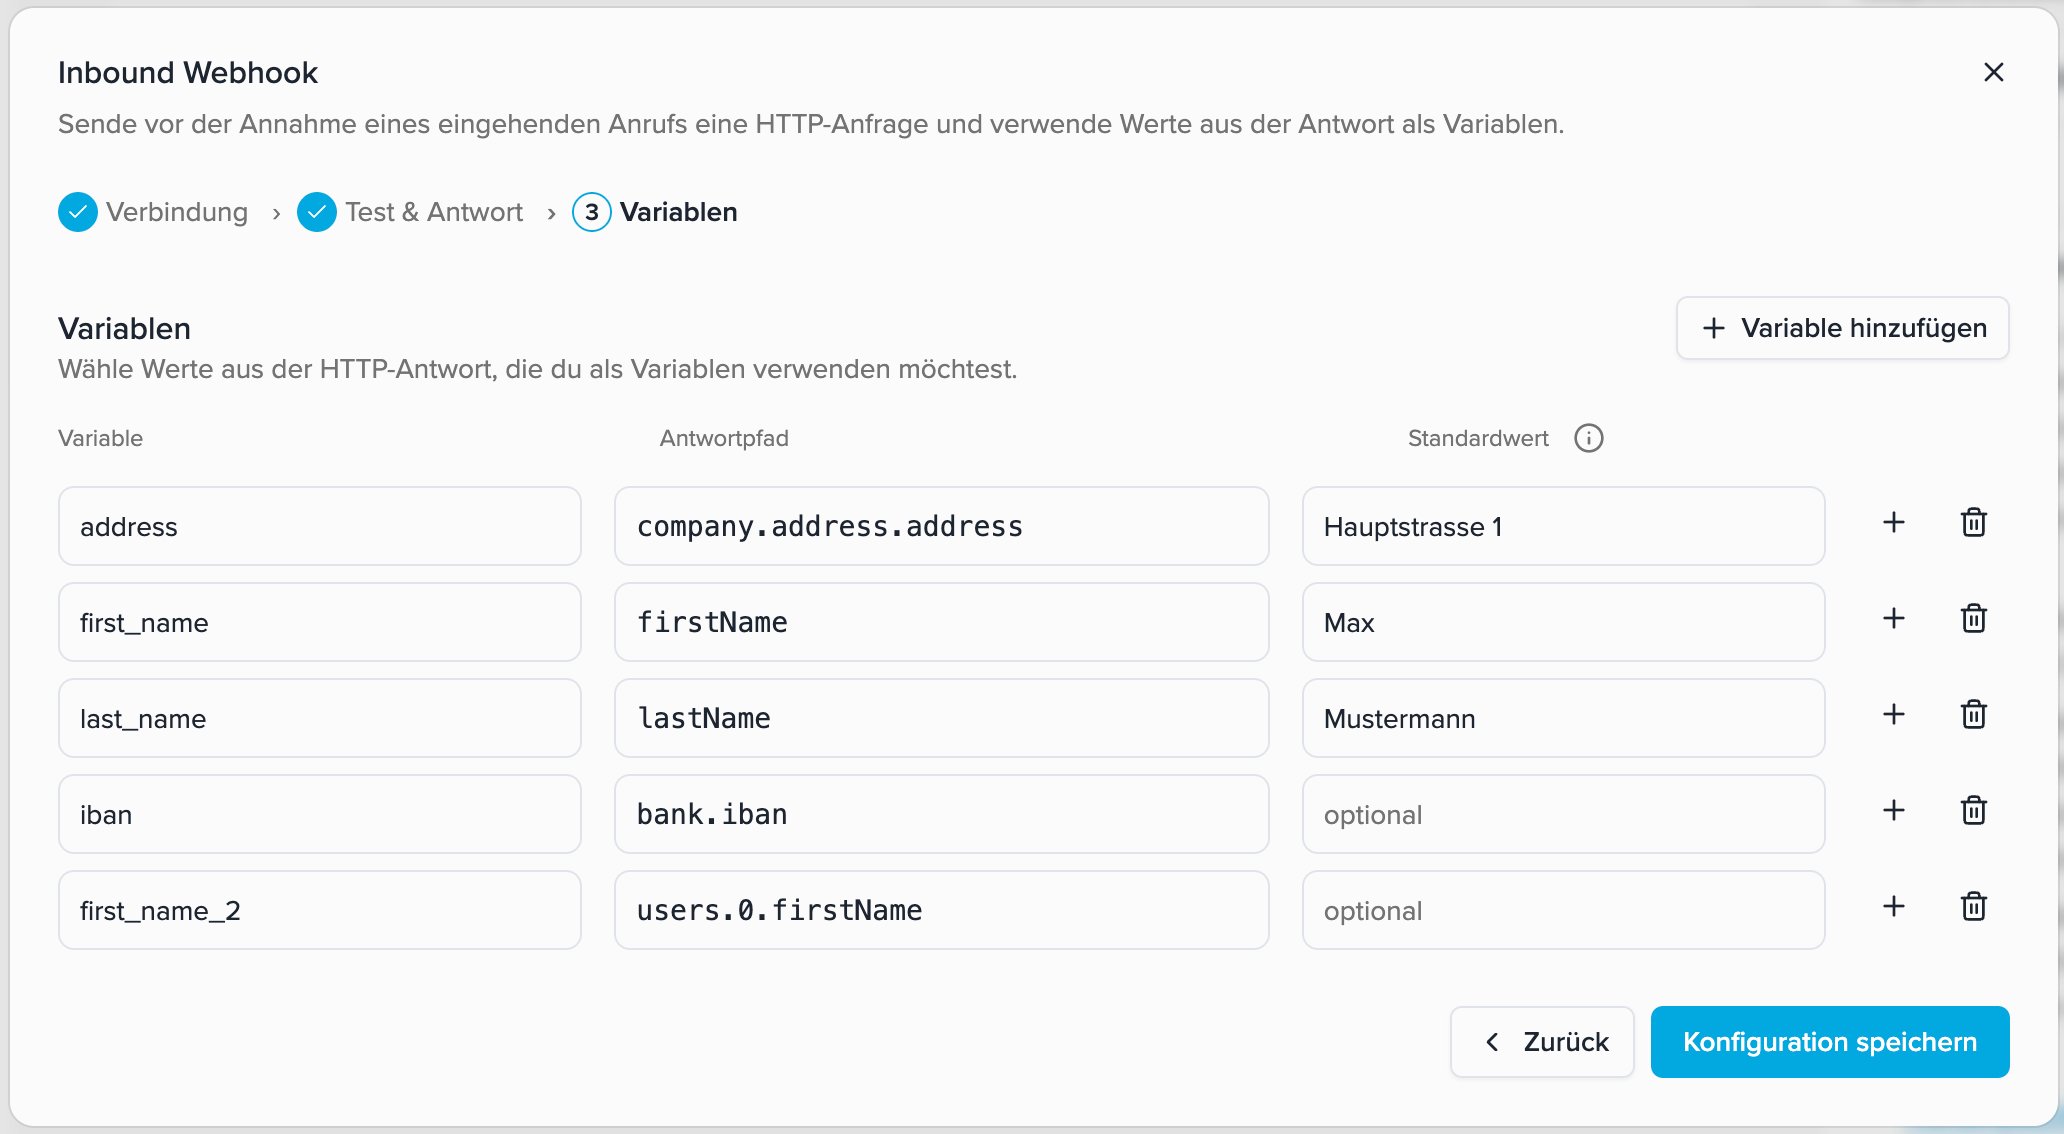
The default value is used when the path is missing, the value is
null or empty, or the path points to an object or array instead of a scalar value. If Continue call with default values is selected, default values are also used when the request fails or times out.
Without a default value, the variable remains empty. The greeting never reads out an unresolved placeholder such as {{first_name}}.
Use a variable in the initial greeting
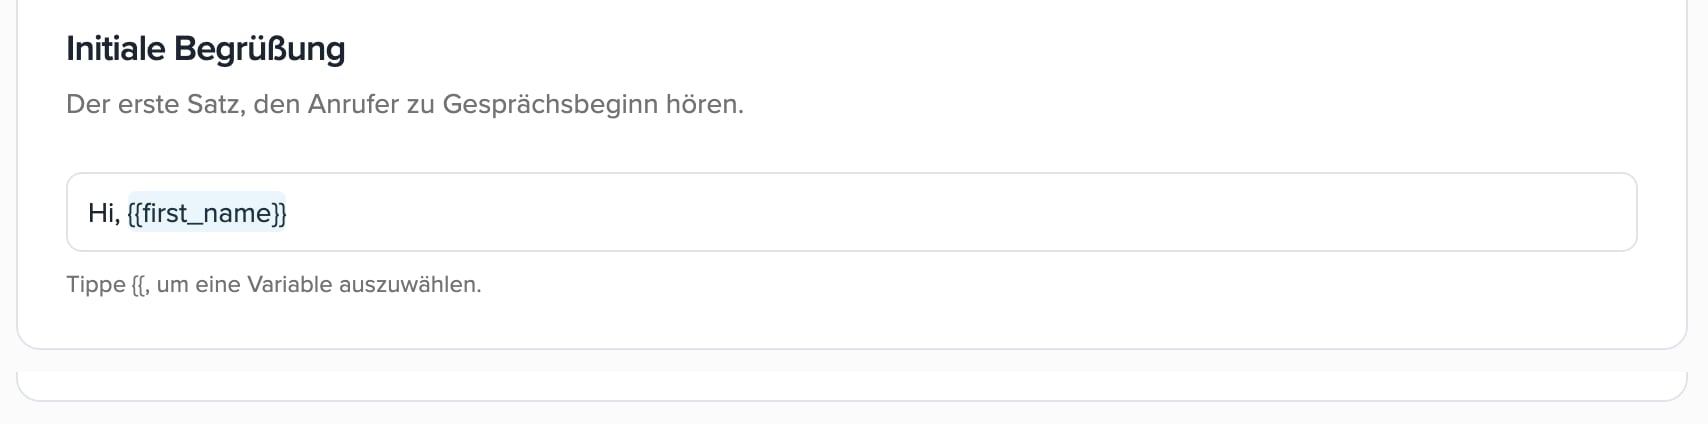
Save the Inbound Webhook configuration, then open the voice agent’s Initial greeting. Type{{ and select a configured variable.
Example: Hi, {{first_name}}
API response requirements
For the response to be processed, your API must:- respond with an HTTP status from
200through299, - return a valid JSON object,
- provide the required values as text, numbers, or Boolean values.